Perspective Shift & Negative Spaces
Overview:
In this project we are going to explore the possible use and application of ceramics. Often ceramics is looked upon as the final product material, the material that the cups and plates are made from. Why is it that we limit our use of the material in this way. Why can't is be exploited for its other positive attributes. Clay is mailable, it can be worked in an additive or subtractive manner. Clay can be used in liquid phase, semisolid phases (think soft plastic clay) or hard solid phases (think hard leather-hard clay). Clay can be dried to hardness when needed and wetted to softness when needed. Clay can do and be almost anything you can imagine. Let start to take advantage of this and rethink how we use clay and ceramic related material. Its important to understand that if you as an artist want to break away from the pack and gain attention, you must start to do things that allow you to been seen separate and unique compared to the rest. Following the same methods and using the same materials in the same processes as everyone else makes it hard to be unique and gain the attention of the audience. Lets mix it up a bit and rethink the way we approach materials and methods.
Im going to ask that everyone commits and understands that this project is going to test you sensibilities of touch, perspective, spacial relation in ways you have never been tested before. As with all things new an challenging, you will find aspects of this project conceptually uncomfortable and visually deceptive. This project will be a exercise in artistic methodology as well as intellectual conceptions of material and process. Please commit and follow through, the end results will change the way you see materials and art making in ways that you cannot foresee, but will undoubtedly benefit you as an artist. The directions of this project will be explained in greater detail as the phases of it evolve. I do not want to spoil the process by explaining too much in the written instructions of the project. This project should be experience and used as an opportunity to respond in the moment, not a planning exercise. With that in mind please forgive the vagueness of the instructions below.
Point Value:
100 points
Requirements:
This project is going to be a evolving type project that will require the completion of one phase before you can begin to address the other phase.
Phase 1.
Construct one (1) cardboard boxes coated in duct tape. Boxes must be 5 sided and have a dimension roughly the size of your head.
Phase 2.
Fill the box with soft easy to work clay.
Phase 3.
Begin to excavate the negative space of the object you intend to construct. This means you are making the shape of the object in the void, not the clay. The clay will serve are the positive and the object will be formed in the negative. Objects must be in the center of the clay mass with a sprue way for casting.
Phase 4.
Fill negative space with castable material.
Phase 5.
Construct suport elements for the cast objects in clay. Design method of display that includes support element and cast objects
Materials:
Cardboard
Duct Tape
Latex Gloves
Small Mixing Container
Cement
Plaster
Wood Glue
Goals/Outcomes:
Break free from traditional and or beginner perspectives on ceramic art materials.
Learn to break from standardized production methodologies to forge new methods of art production.
Gain familiarity with positive and negative spacial relations in art making and mold making.
Gain experience and familiarity with castable ceramic and ceramic created materials (plaster, concrete, slip).
Increase sensitivity to tactile engagement of materials.
Increase skill sets related to hand building and wheel throwing ceramic elements.
Cup Exchange
Exchange program:
Students will be asked to take part in a cup exchange with the Advanced Ceramic students at ElCamino College in Los Angeles. Their instructor Vince Palacios has been a visiting artist with us at Reedley College and can be found in the Artist Section of this site.
Each Student will be asked to produce the BEST cup they have ever made! I should say CUPS. Cups can be either hand build or wheel thrown (based on enrolled course section). We will each produce two (2) identical cups. One will be packaged and shipped to El Camino College and the second cup will be exchanged via blind drawing in our class. Packaged and shipped cups will be distributed to ECC students who participated in the exchange with us.
Students are expected to spend a good deal of time in the execution of their exchange cups. Test you limits of craft and design abilities. Produce work that is at the level and quality you wish to receive in exchange.All work must be signed or chalked with your mark.
Project Points:
100 points
Thoughts:
This projects is an opportunity to hone your skills and warm up your hands from the break. The project requires you to examine your processes and steps needed to produce form and volume. Understanding these processes will help you achieve the goal of matched sets of cups. As you may already know it takes many attempts to achieve perfection. SO please plan on making multiple sets of cups/drinking vessels. While you are only turning in one finished set, make more and keep them for yourself or for exchange with others in class. The more you make the better you get. Get good.....work hard.......make lots.....invest in your designs!
Requirements:
Each student must create 2 similar cups.
Cups must be functional
Must utilize glaze (minimum as a liner)
Must have a handle
Must be signed (chalk, stamps are acceptable)
must be in general purpose scale (no shot glass scale or jumbo sized)
Goals/Outcome
Engage in exchange program that allows the direct connection of maker to maker interaction.
Raised standards of production (golden rule exercise)
Engaging testing results and practical application of results from previous project.
Explore new and unknown designs for drinking vessels
Review:
Student works will be reviewed on the following criteria:
Formal execution (design, balance, aesthetics)
Glaze application
Numbers (2)
Craftsmanship
Resources:
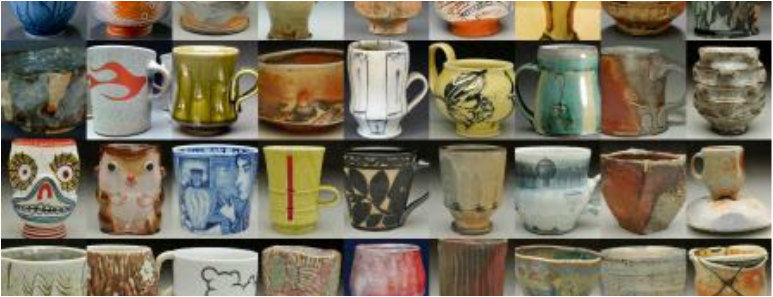
Please reference the cup library in the resource section this website or use the following link: Cups
Timeline:
Students will have 3 Class sessions to complete this project before bisque firing.
Overview:
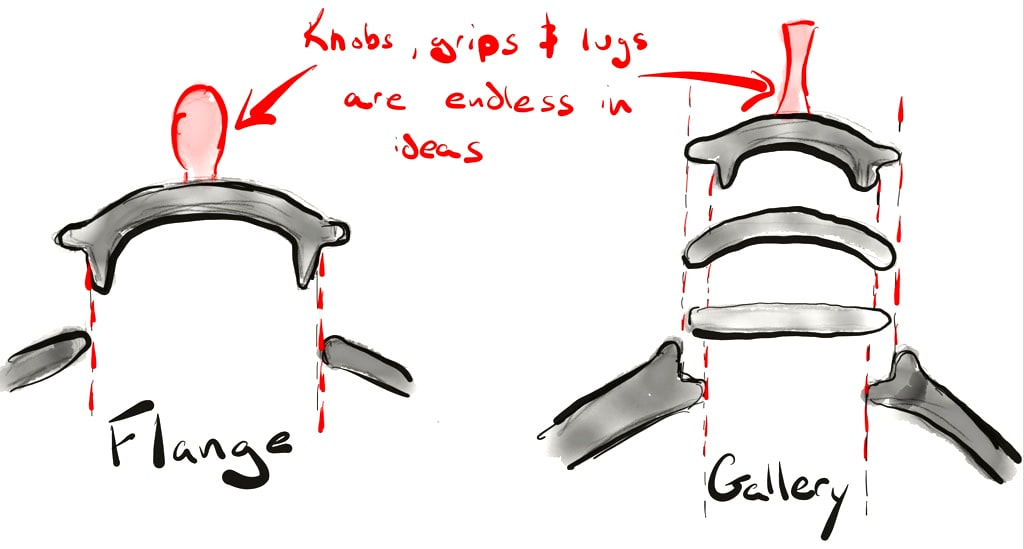
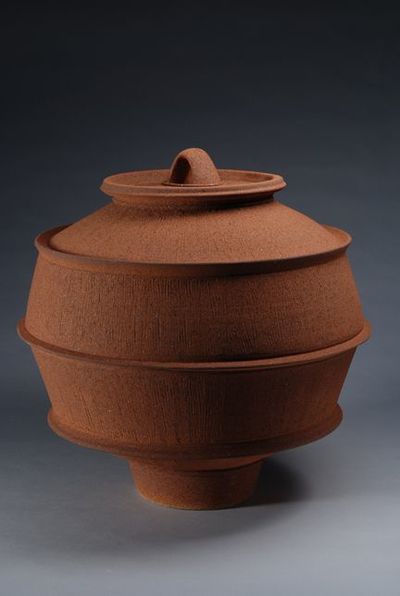
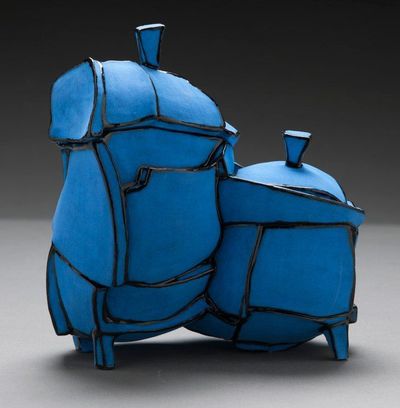
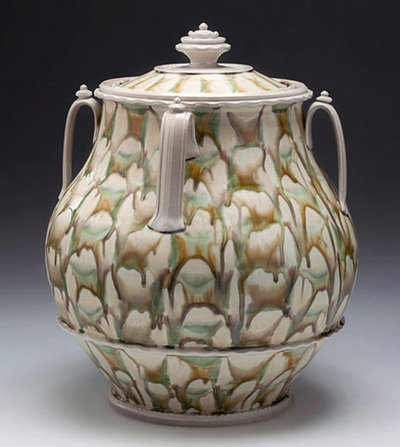
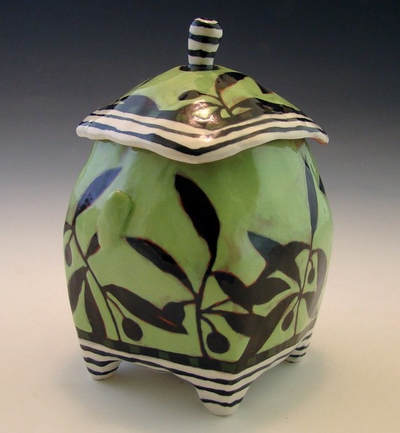
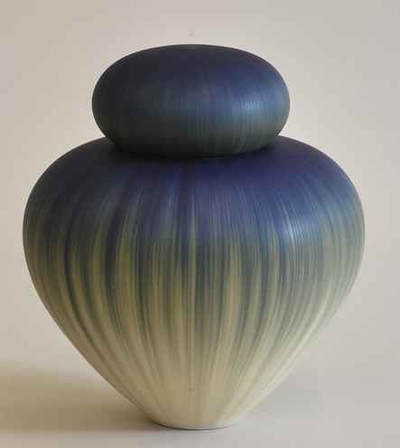
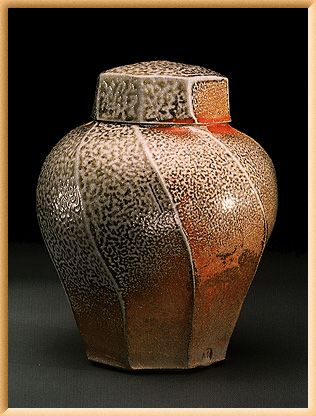
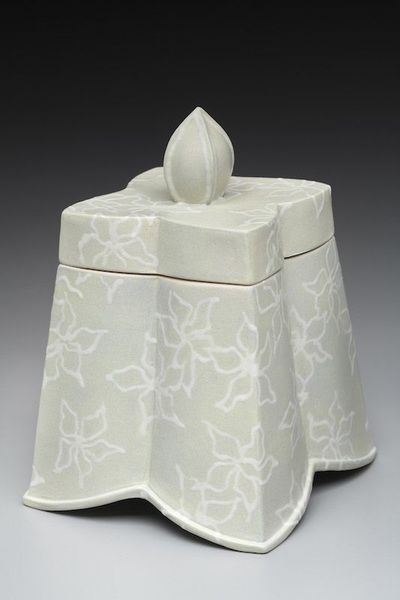
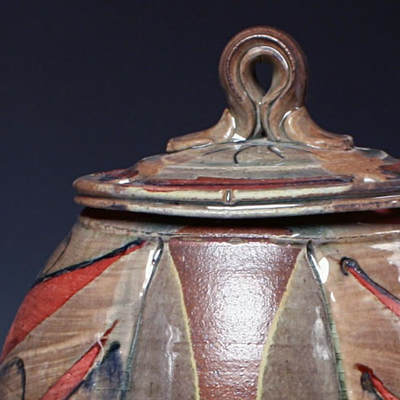
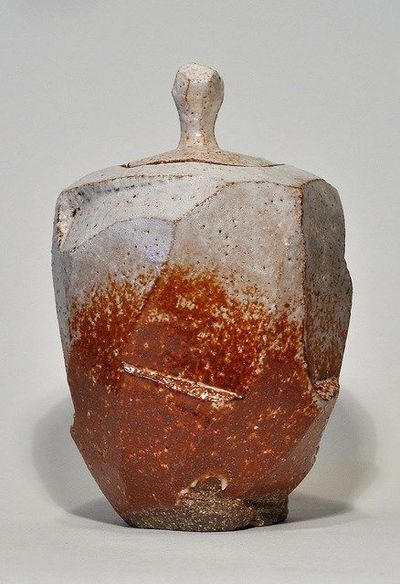
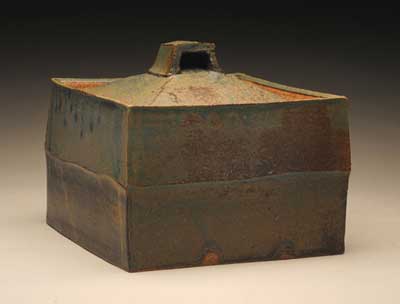
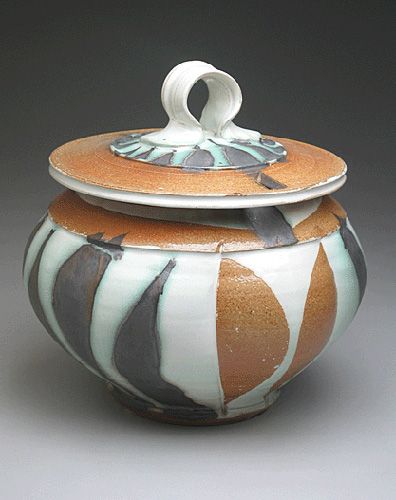
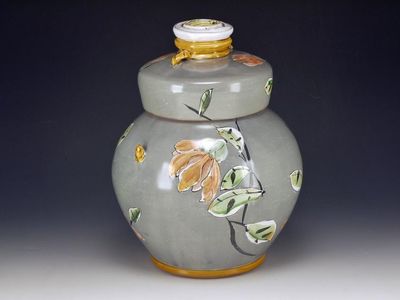
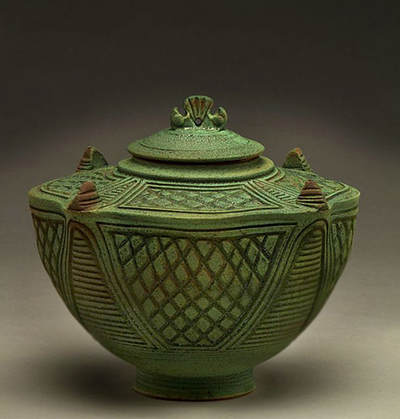
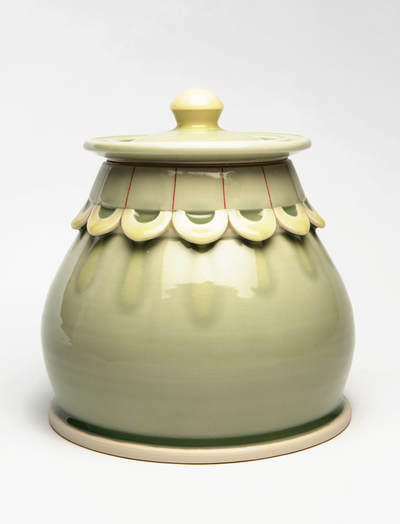
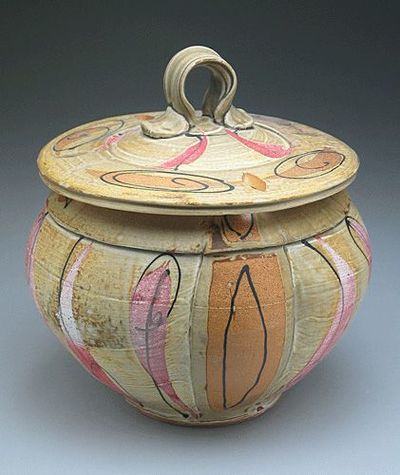
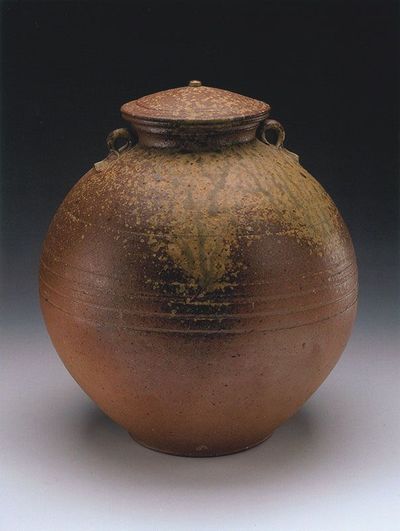
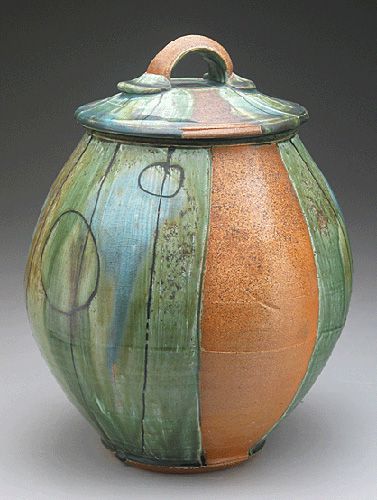
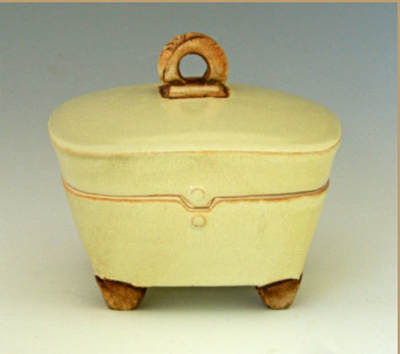
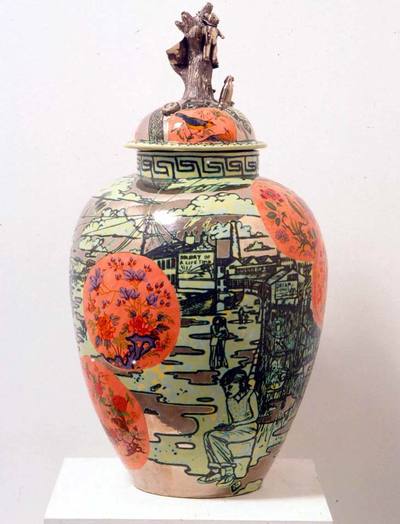
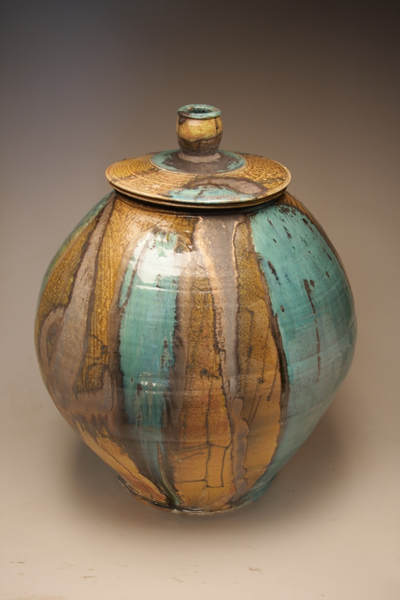
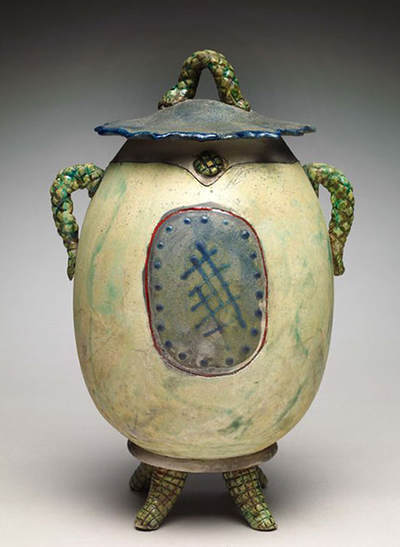
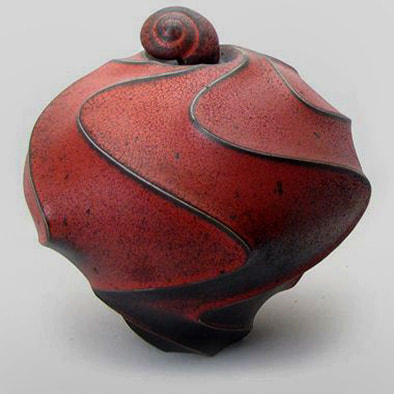
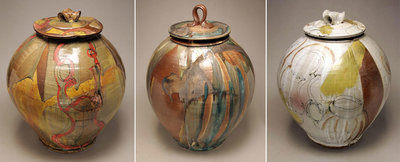
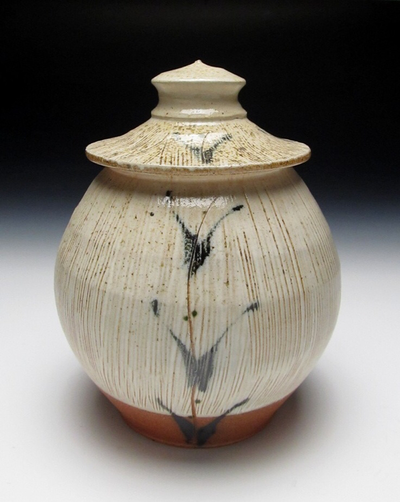
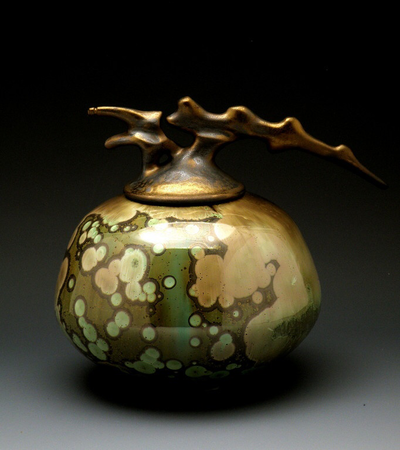
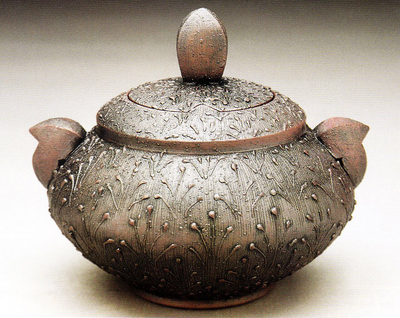
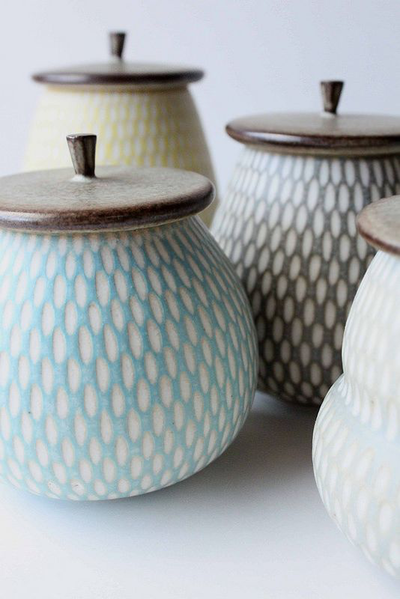
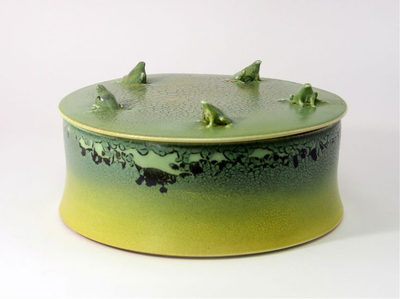
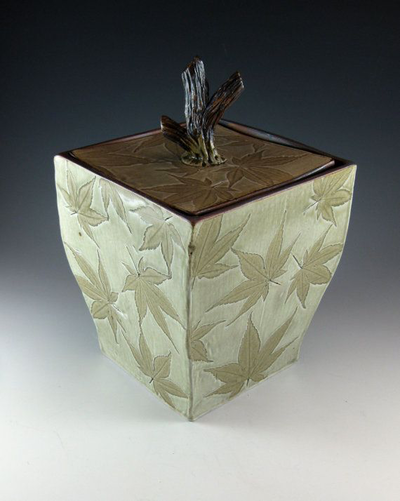
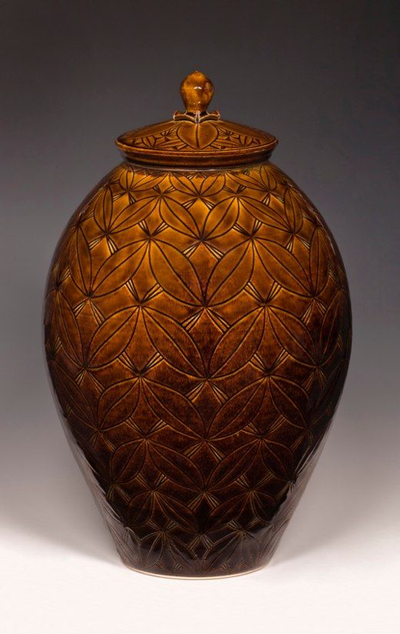
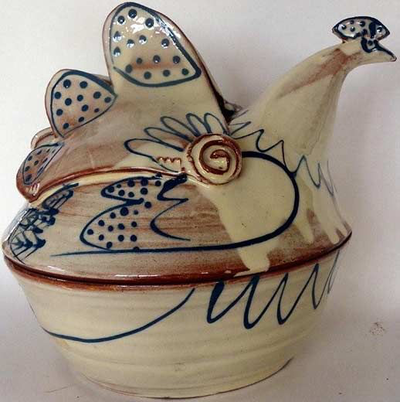
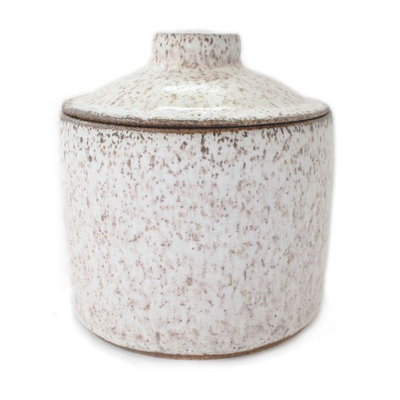
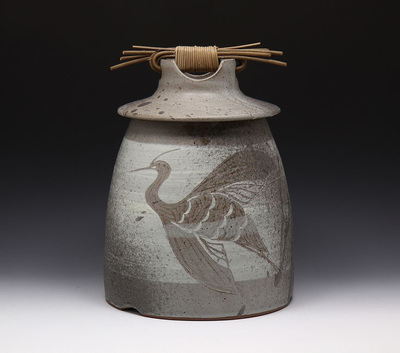
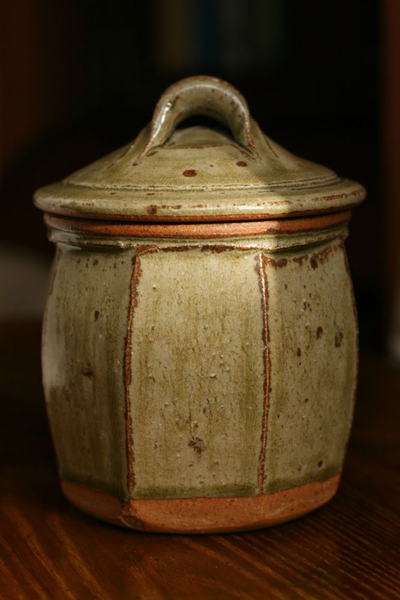
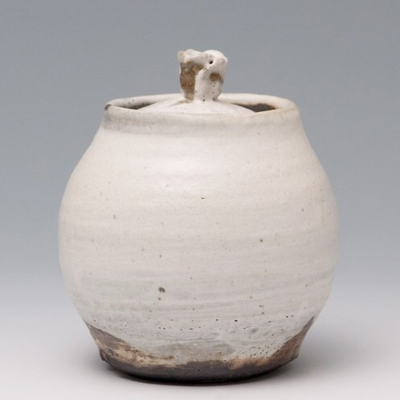
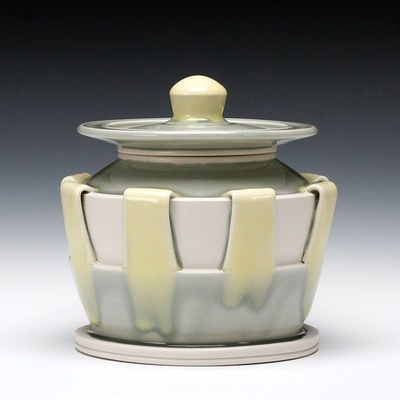
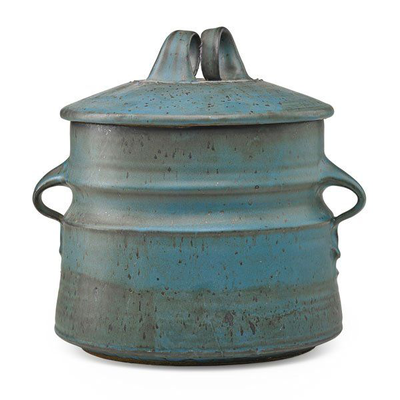
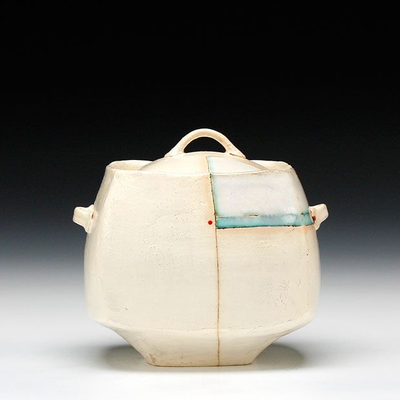
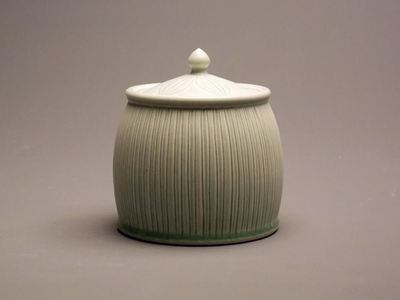
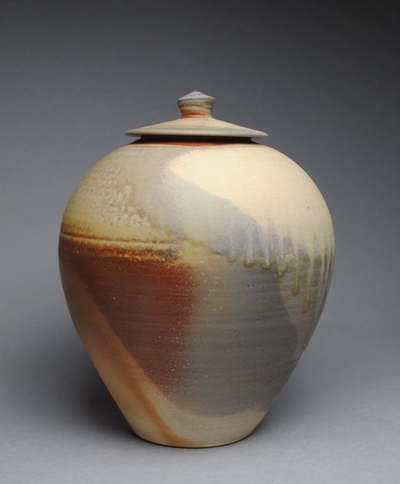
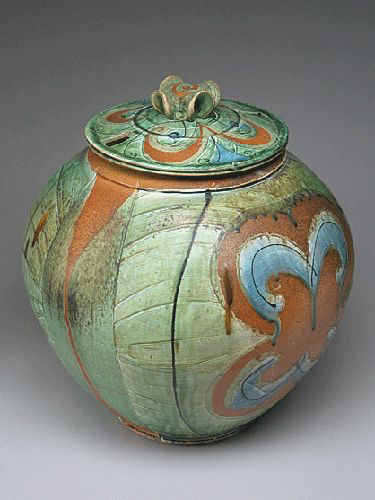
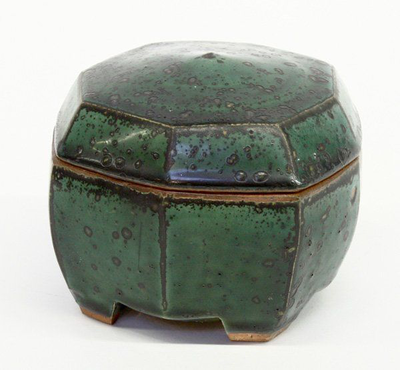
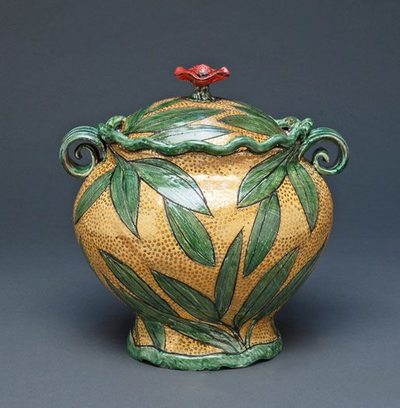
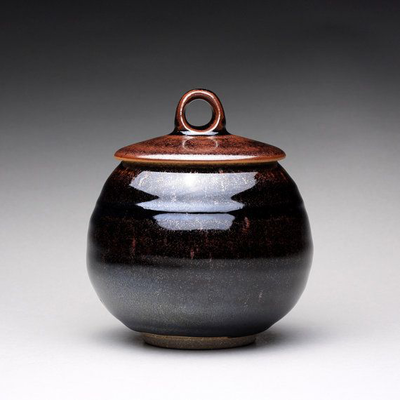
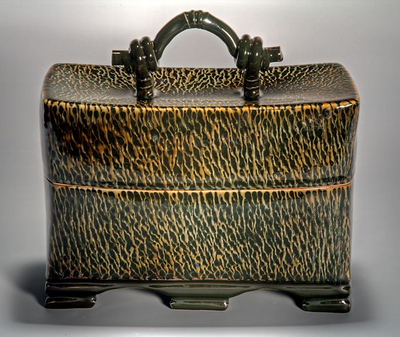
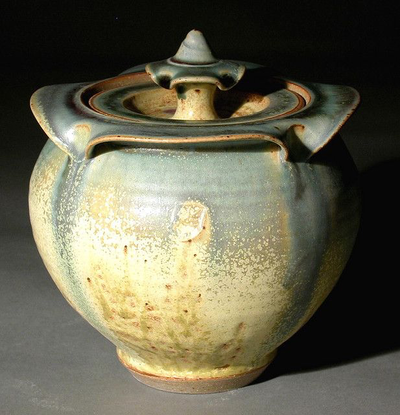
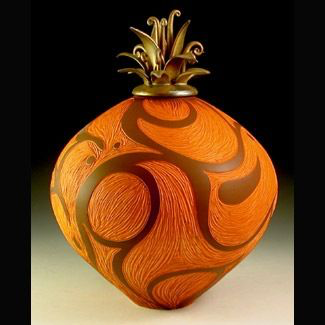
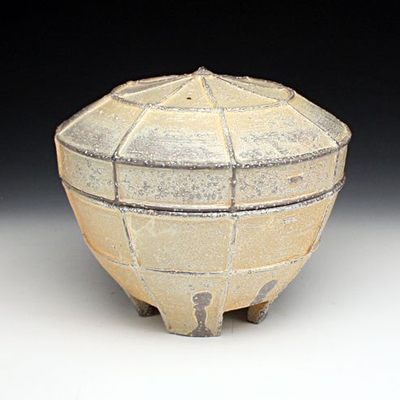
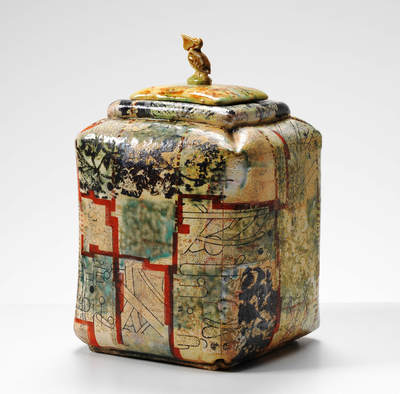
For this project we will be working on closing things up, “putting a lid on it” some might say. As you may have already guessed from my intended puns, we will be working on developing lidded forms. This project will be an opportunity for both hand builder and wheel throwers to engage lidded forms. Whether sculptural, decorative or utilitarian, this project will present you will the skill to execute basic lidded forms. We will discuss the varieties of lid types and methods of production. Students will be charged with the task of creating two lidded vessels. One large lidded vessel and one small lidded vessel (Small: less than 6” height, Large 12-18” in height), students can choose any lid type of their choice to best suit their formal direction. I would encourage you to play with the idea making two lidded vessels interact formally with one another to create a pair or set.
Point Value:
100 points
Requirements:
Hand Builders.
Create two (2) lidded Vessels
One must be no larger than 6" in height
One must be between 12 - 18" in height.
Surface of both vessels must be engaged to create a visual dynamism
One Vessel MAY NOT BE ROUND! Angular, square, anything other than round please!
Both must lids that fit properly and with access holes large enough to put your hand into.
Produced works must display a glaze application that reflects thoughtful design, investment of time and skillful application. You will have 2 class sessions for glazing. Review glaze test tiles for information and direction.
Wheel Throwers.
Create two (2) lidded Vessels
One must be no larger than 6" in height
One must be between 12 - 18" in height.
Surface of both vessels must be engaged to create a visual dynamism
One Vessel MUST BE ALTERED to change its roundness!
Each vessel musty have at least one Hand built element (handle, lug, knob, sculptural surface element)
Both must lids that fit properly and with access holes large enough to put your hand into.
Produced works must display a glaze application that reflects thoughtful design, investment of time and skillful application. You will have 2 class sessions for glazing. Review glaze test tiles for information and direction.
Goals/Outcomes:
Explore and begin to understand the fundamentals of lidded forms.
Engage the potential concepts of storage vessels and how they can be used (food, funerary, spiritual, conceptual, etc...)
Gain an understanding and fundamental ability measure, fit and construct separate clay elements designed for physical fit and interaction.
Practice controlled glaze application and ability to fire objects together for fitting and decorative purposes.
Build skills needed to produce larger objects and push personal boundaries of scale.
Plan, execute and finish works accordant to a concept and intended direction.
Utilize glaze tiles tests and overglaze oxide tests in surface decoration.
Review:
Student work will be assessed on the following criteria:
Scale
Vessel Craftsmanship (Lid fit and design/vessel execution)
Glaze Application and Design
Timeline:
Students will have approximately 2 weeks (4 class sessions) for dedicated build time before bisque firing and 1 week for decoration.
Bridge To Nowhere
A Bridge to Nowhere
Overview:
For the Final project you will be working with all the skills we have learned over the course of the semester. For this project you will be tasked to work in groups to construct a structure that must address a number of challenges. Point will be assigned for the successful completion of outlines challenges. Points will be set as follows in the challenge description.
1) The first challenge for your structure, the most important challenge, is that your structure must be able to span a unsupported distance of 24" (think of a bridge over a 24" gap). It must maintain its span for a total of 5 minutes un-aided or touched by team members. Structures that survive the 5-minute challenge will receive 70 points. Any structure that fails to hold for the five minutes and fails structurally will only receive 50 points. (70pts; pass, 50pts: fail)
(This 5 minute testing period will be the group oral presentation period, be prepared to explain you design and decisions made as a group.)
2) The second challenge your structure must address is the ability to support weight greater than itself. Project structures will be tested to see which one can hold the most added weight before they come crashing down under the added load. The weight will be measured and the group with the strongest structure will be granted additional points. Each structure must have a testing tube inserted laterally across the measured center of the structure (tube will be provided). The load that each structure can hold will be measured and tracked. The group with the highest load capacity will receive 20 points, second highest load 10 points, third highest load 5 points. Failure to achieve a 1st, 2nd, or 3rd place finish will receive zero points. It’s a competition, build to win! 1st: 20pts, 2nd: 15pts, 3rd: 10pts. 4th: 5pts.
3) The third challenge is a beauty contest. Each team will be asked to create a structure that is aesthetically pleasing. You should work to create a structure that is visually attractive, tells a story or exemplifies quality craftsmanship. The groups will be judges by a guest judge who will Judge and rank the structures. The first, second and third place winners will receive additional points. 1st: 15pts, 2nd: 10pts, 3rd: 5pts. 4th: 5pts.
NOTES:
Students are encouraged to build a competitive attitude in response to this project. You will be competing for points; therefore you should be careful about divulging your tips and methods of success.
Groups should delegate tasks to group members.
Group members are required to be present for the remainder of class session in the semester. DO NOT be the anchor in your group.
PLAN, PLAN, PLAN but be flexible with your design.
Think through the required challenges and be strategic
Advisor:
As your instructor, I will act as an independent advisor to all teams, not sharing vital team information with other competitors. There will be ZERO demonstrations for this final project. Past the first day of project instruction, teams will be expected to work as a group and ask for advice as needed. Instructor will not tell you how to complete the task but rather will answer direct equations regarding the teams designs and or issues as they develop. Groups must rely on the information and experience they had during the course of the semester, and put hat information to work.
Point Value: 100 Pts.
Groups that win best of show, time, weight could possibly will a total of 105 point! Any points above 100 will be granted as extra credit and applied to cumulative course grade.
Requirements:
Each group will be assigned in random order.
Each structure must span a distance of 24". It must be longer than 24" to achieve this task.
Structures must be constructed using hand building techniques (coil, pinch, slab)
Structures must be made of clay only, no alternative materials may be included (exception of testing tube).
All works will be unfired, and may be decorated using slips only.
All structures must be built using no more than 50LBs of clay (two bags),
(50 Lbs. is the limit, failure to comply with this will result in disqualification and an over project grade of 50 POINTS)
Areas of focus:
Group Dynamic and Communication
Teamwork, Delegation and Planning
Craftsmanship and Construction (techniques that lead to strong structural integrity)
Basic Ceramic Construction
Timing and Moisture Management
Time line:
Students will have approximately 2 weeks for construction.
Structures are due May 9th (Mon-Wed Classes) and May 11th (Tue-Thurs Classes)
Resources:
Students are encouraged to plan and to critically explore the potential designs for your structure. Think about bridges, structural beam, and architectural methods of spanning open distances.
Person, Place & Thing
RefrenceOverview:
In the second major project of the semester we will be taking a brief departure from the wheel and explore some of the fundamental hand building methods of ceramics. In this project titled Person, Place & Thing, you will be tasked to create a collection of items that like the title states represents a Person, a Place and a Thing. Like all good assignments the process has more lurking below the surface than the eye can see. The three items you are tasked with directing are going to focus around your self. Who are you, this person the assignment speaks of? Where is the Place that you come form, want to be ,or where you're heading? What is the Thing that represents an important element of you? Essentially in this project we will be constructing a complex portrait of the artists through the objects, images and forms that will be created in a variety of methods.
Building Methods:
The basic building methods I would like to present to you simple and straight forward; Coil, Slab and Pinch. These methods make up the fundamental ways artists work with clay. They are forming methods that allow you to take clay in block from and transform it into dimensional objects of purpose. We will be exploring these methods through demonstration and in class discussion. I will demonstrate these methods of building and you will be tasked with taking these skills and employing them to create a series of objects and vessels that address the conceptual aspect of the project. I will ask you do follow a few rules.
Rules:
The rules are simple and have purpose. Please understand these rules are not meant to curb or limit your exploration, rather they are instituted to help with the processing of the items you will begin to produce. I ask that you create your forms and objects in a way that allows them to be nested and stacked during firing. This aspect of the project is crucial in being able to complete the assignment in a timely manner. We as a class are going to be flooded with objects and vessels. I would like to employ this nesting method to make the best use of the kiln space and firing efficiency. I know if can be a difficult hurdle for you to clear, but please help me in making this project more quickly in the firing process by making all objects produced nest inside on another. What does this mean. You should produce work that is progressively smaller as to be able to fit inside on another. In other words...you could produce a large vessel form that holds a smaller vessel and that smaller vessel hold another object. Essentially allowing your entire project to have a single footprint in the kiln.
Decoration:
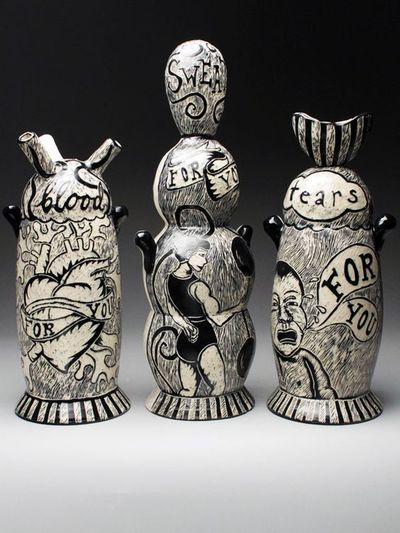
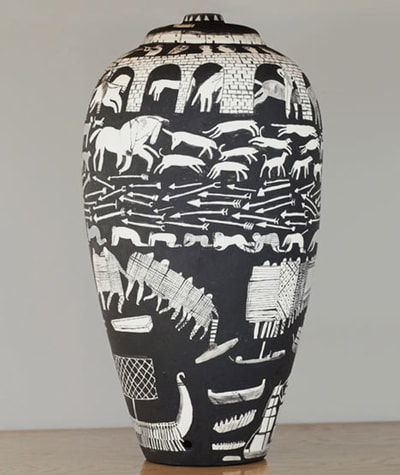
For this project we will be exploring slip decoration. Slip is essentially a liquid, fluid clay that can used in a number of ways. In this situation we will be using a tinted colored slip to decorate and illustrate the surfaces of the work to tackle the subject of the project: Person, Place & Thing. Slip is a medium that is not like anything you have worked with before. Please test and play with tthe slip ahed of time to get comfortable with its characteristics. Slip, black slip to be exact will be the primary decorating color, along with white which we will use to whiten you works prior to black slip decoration.
Basic framework of the project:
1. Construct 3 objects that will be used to illustrate your concept
2. Use the 3 techniques (slab,coil,pinch) to construct the objects. 1 object for each technique.
3.Decorate the objects with black and white slip. Decoration should illustrate or reinforce concepts both formal and conceptual.
4. Objects should fit within each other (nest)
5. Largest object should not exceed 12" in height
Goals:
Begin to explore the fundamental building methods associated with beginning level ceramics (coil, slab, pinch).
Gain an understanding on the potential for ceramics to become a grounds for imagery.
Explore the potential for conceptual projection though ceramic objects.
Reflect on self and personal identity for source materials for art making.
Gain fundamental undertaking of slip decoration including, Sgraffito and Mishima techniques.
Explore to potential for conversational setting of objects and the relation the develop through installation and display.
Timeline:
Approximately 2 weeks (4 class sessions) (12 hours)
This time line will adjust for temporary pauses in project for demonstrations on glazing of previous works. At least 4 complete class sessions will be allotted for the project. Friday lab time may be necessary to complete this project in a manner to receive a higher than average grade. Remember folks, average is a C. Put in the hours and your work will show the efforts.
Research Suggestions:
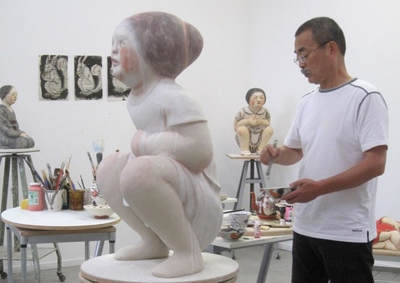
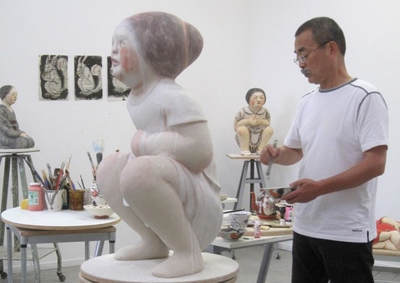
Akio Takamori
David Reagan
Mungjin Kim
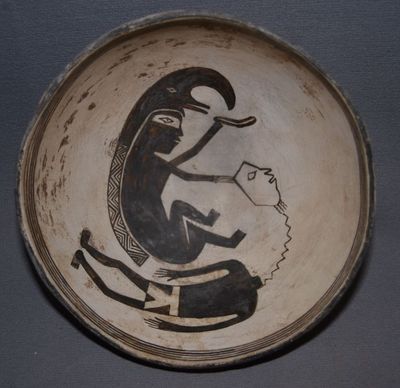
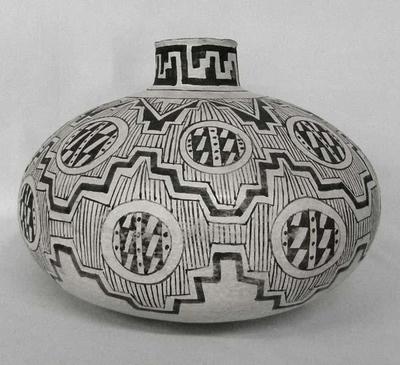
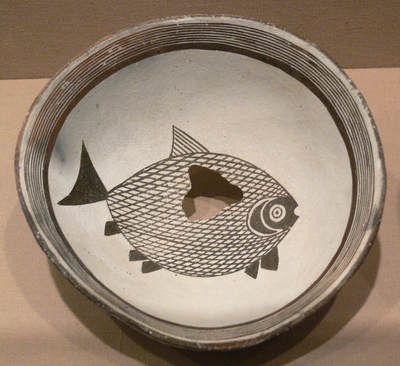
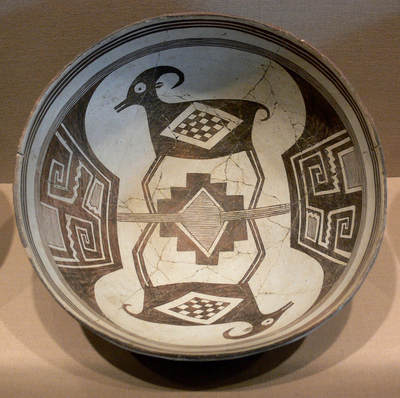
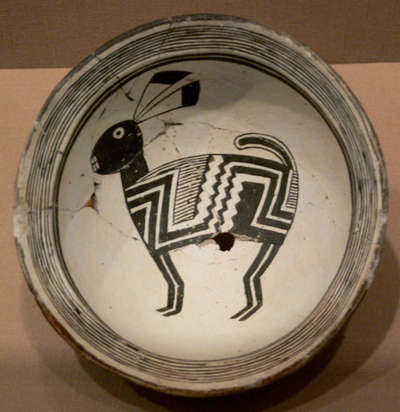
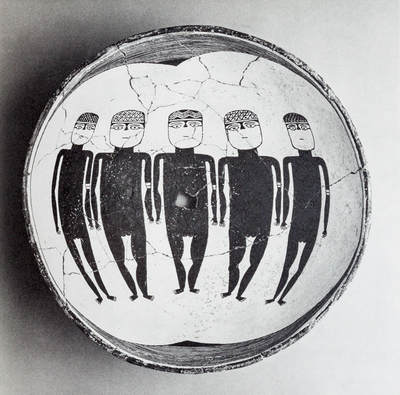
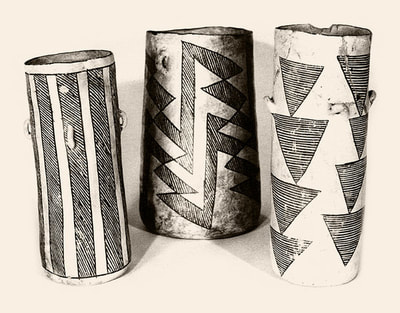
Mimbres Pottery
Jun Kaneko
Jean Pierre Larocque
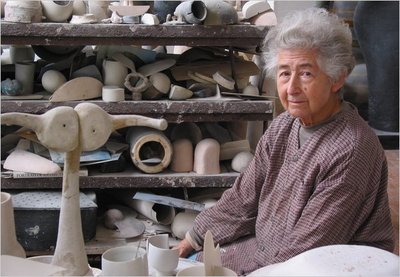
Ruth Duckworth
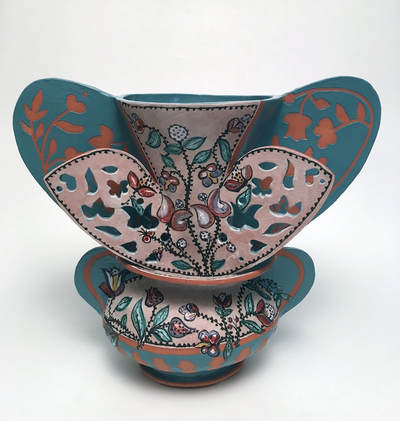
Andrea Gill
Glaze Display Tiles:
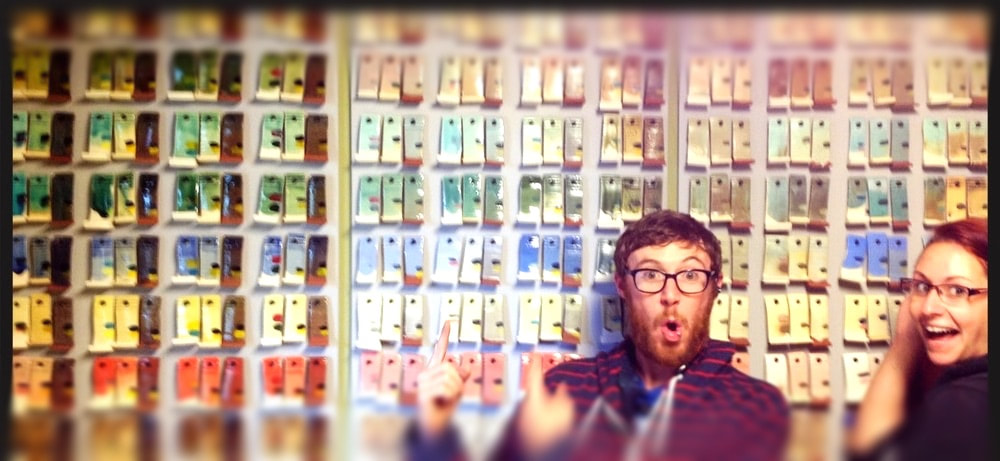
For this project you will be asked to construct glaze sample tiles and participate in the construction of a physical glaze library. Each student will be assigned a studio glaze that will be used to complete their line of glaze tests that display the glaze characteristics, compatibility with other studio glazes and effects of layering with other studio glazes. Recipes for studio glazes can be found on this site under the "COURSE RELATED" tab. Students will also be tasked with constructing identical tiles for the glaze testing. A uniform and Identical tile will help format the studio display board that will begin to take shape as permanent reference source for all student. All test tiles must be identical in both clay,scale and shape across the entire class test!
Each tile must have the following elements:
1. White slipped section
2.Non White Slip section (raw stoneware)
3.Double dip section
4.Oxide Brushed areas (cobalt, rutile, iron)
5.Mounting hole
6. ID number with accompanying reference list.
7. Textured Area
8. Test tiles should measure 4"x4" exactly
Each SET of test tiles produced (by an individual student) will have all of the above information included into the tiles execution.
Each set will have a base tile that will only have the BASE GLAZE alone. Students will also test the effects of glaze layering, requiring that an additional tile be produced for each glaze in the studio glaze table. These layering test tiles will be coated in the Base Glaze you have been assigned and then top coated in one of the other studio glazes to illustrate the effects of glaze layering. These layered glaze tile will explore al of the possible glaze combinations in the studio. Each student should expect to produce 10 - 12 tiles, each including the above mentioned elements and written information.
At the conclusion of this project we will as a class engage the results and construct a display board to mount our tests for display in the studio.
Goals:
*Understand the glaze palette available in the studio.
*Explore decorative possibilities of over glaze oxide brush work.
*Explore and begin to develop an understanding of glaze interaction between different glazes and how results can be implemented in studio projects and personal development of artwork.
*Develop an appreciation for testing and the importance of surface research.
Grading:
Review of work will take place after glaze firing of the entire collection of test tiles. The project will be assessed on the successful completion of all assigned glaze tiles, clean and orderly execution of glaze application, oxide and physical constancy of test tiles.
This project should be considered a research project, requiring precision and consistency of your material interaction and glaze application. Sloppy, messy work in not useful in testing materials.
Exchange program:
Students will be asked to take part in a cup exchange. I have arranged with an exchange with the Advanced Ceramic students at ElCamino College in Los Angeles. Their instructor Vince Palacios has been a visiting artist with us at Reedley College and can be found in the Artist Section of this site.
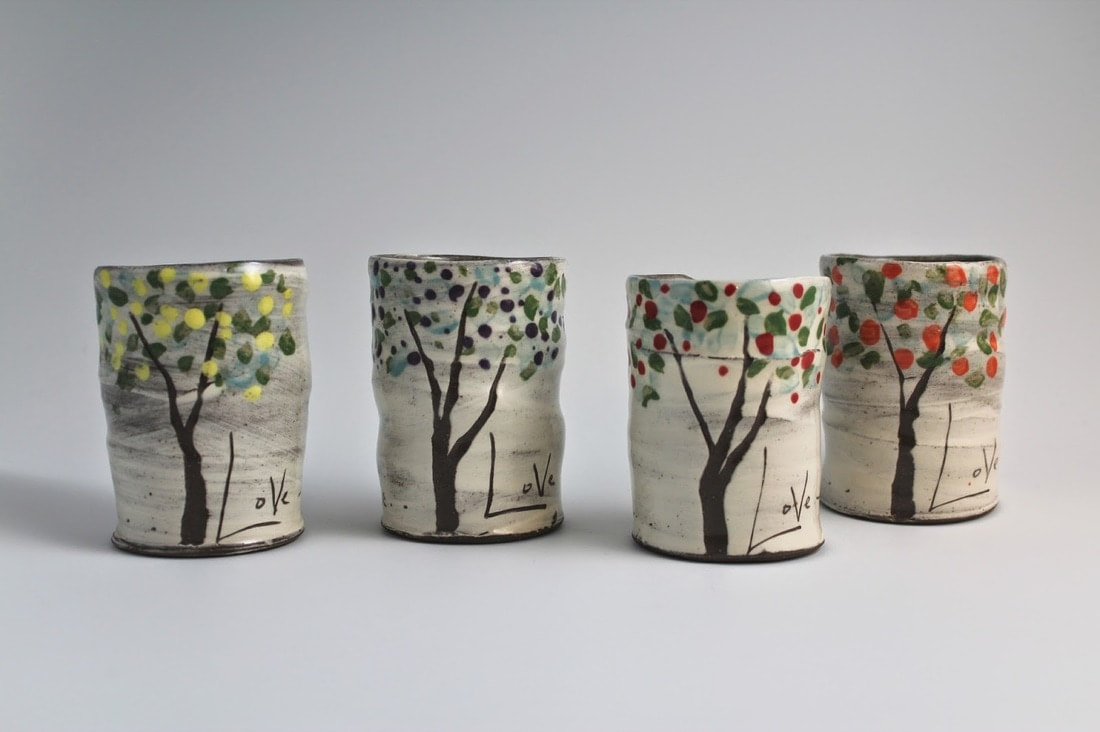
Each Student will be asked to produce the BEST cup they have ever made! Cups can be either hand build or wheel thrown (based on enrolled course section). We will each produce two (2) cups, with one that will be packaged and shipped to El Camino College. These cups will be distributed to students who participated in the exchange with us. We will also receive a collection of cups from the students at El Camino College. The second cup will be exchanged via blind drawing in class amongst class paticipants.
Students are encouraged to spend a good deal of time in the execution of their exchange cups. Test you limits of craft and design abilities. Produce work that is as excellent and fantastic as the cup you wish to receive in exchange. Include your Chalk mark, utilize the information learned for the test tile project and as always put you best foot forward.
Requirements:
Each student must create 2 similar cups.
Cups must be functional
Must utilize glaze (minimum as a liner)
Must have a handle
Must be signed (chalk, stamp are acceptable)
must be in general purpose scale (no shot glass scale or jumbo sized)
Goals/Outcome
Engage in exchange program that allows the direct connection of maker to maker interaction.
Raised standards of production (golden rule exercise)
Engaging testing results and practical application of results from previous project.
Explore new and unknown designs for drinking vessels
Review:
Student works will be reviewed on the following criteria:
Formal execution (design, balance, aesthetics)
Glaze application
Numbers (2)
Craftsmanship
Response, Trigger, React
Construction (thrown, built and assembled)
For this project students will be asked to build a sculptural object that is made from multiple parts. Students will either hand build separate elements or wheel throw elements (based upon course section enrolled). The handbuilt and or thrown elements will be used as the constructive elements in the sculptural object. The sculptural object must reflect and be triggered by the randomly assigned trigger.
Trigger: something that initiates a process or course of action
Where do you start in creating a sculpture? How do you get an idea or form to work from? What do you make? These questions can often be a difficult aspect of building sculptural artwork for beginners. In this projects we will address this issue through the use of trigger words. As the definition above states, a trigger is something that initiates a process or course of action. You will be working through a trigger to find the inspiration for your sculptural work. You will be given an image, this image will be the starting point. What do you make that would be inspired by, related to, or directly connected to the image you have been assigned?
Project/Requirements:
Assemble 1 sculptural object 12" in height
Must have a base
Must be made of minimum 8 separate elements
Must utilize slip and glaze for surface decoration
Must have origins that are based upon the trigger image
Commit to construction method (entire wheel made/ hand made) no mixtures please
Sketch are required of your ideas and concepts
Present rough sketches of initial concepts for discussion and review. These drawings are due before construction begins.
Outcomes:
Students will begin to understand the possibilities of multiple objects coming together to create works that are more complex than any one individual piece. This project should give insight to the process of engaging your skill in simple interactions to create building blocks that can be used to expand you sculptural abilities.
Additionally students will begin to exercise their abilities to respond to outside stimulus through trigger exercises. Using a conceptual or visual starting point to build upon is a studio excise that can strengthen you ability to respond to topics and curatorial requests. This process will also offer insight into the translational possibilities of the wheel as a tool for production of sculpture and decorative objects.
Reference Sources:
Gerit Grimm
Shawn Spangler
Rosaline Delisle
Jeri Hollister
Peter Voulkos
Rik Allen
Place Setting (culture, cuisine)
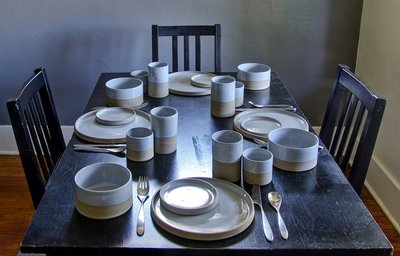
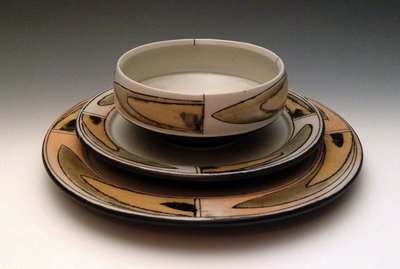
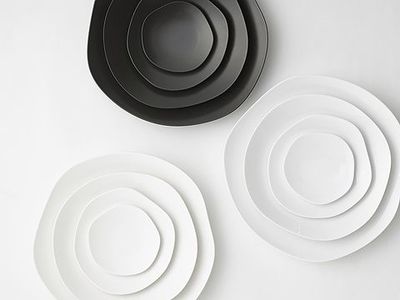
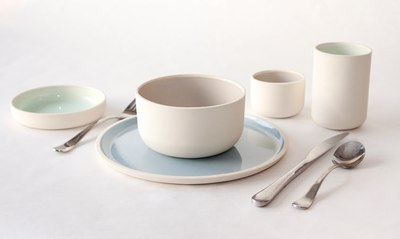
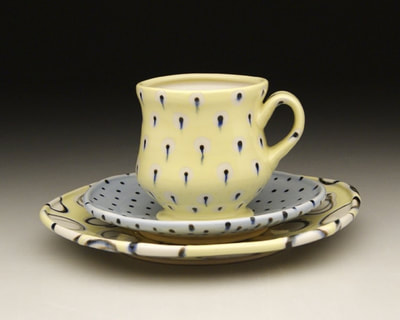
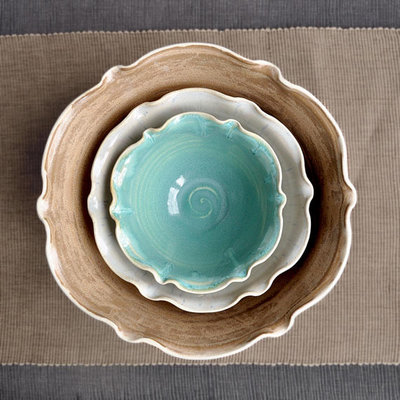
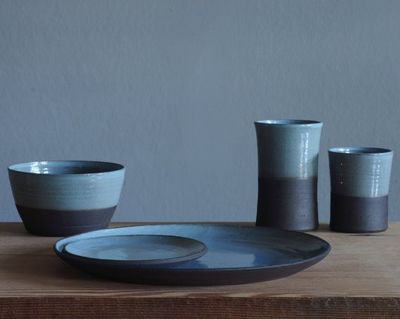
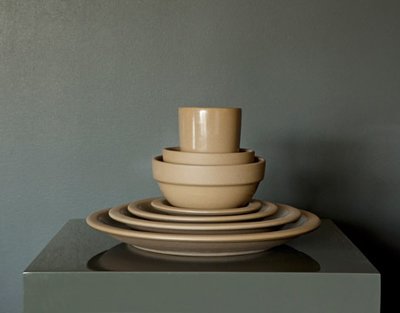
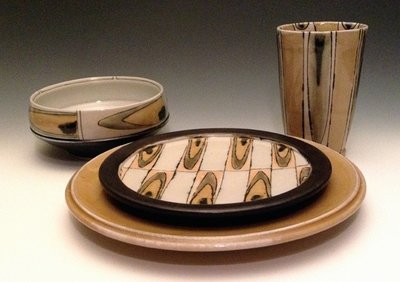
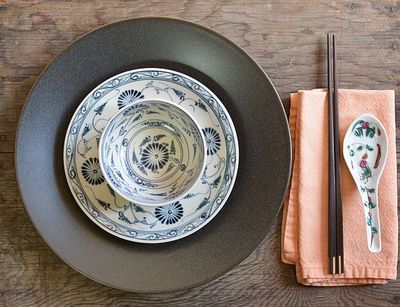
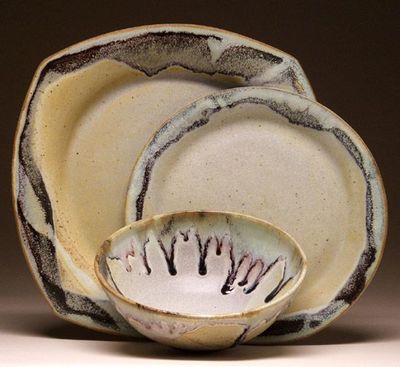
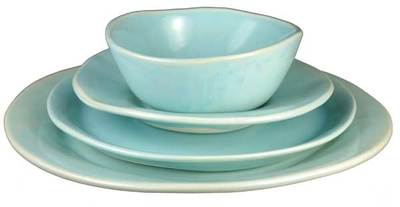
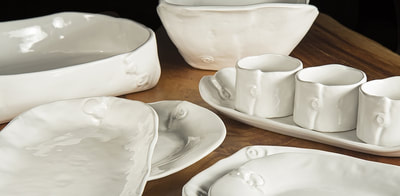
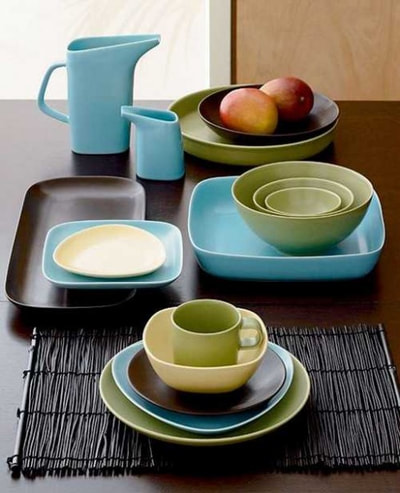
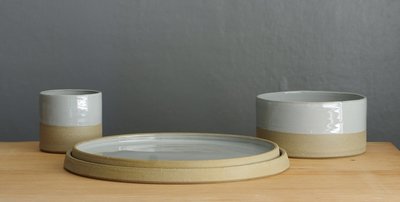
Sets: Place Setting & Serving SetsA place setting is a collection of forms centering around consumption, decoration and versitility. As the maker you will be engaging a challenge that require you to possibly engage a particular meal, a cultural food practice, a specific person, or a dining method. On top of all of this you will need to find a way to unify all parts and pieces together in a way that makes the read as a set or group. There will be many ways to make this happen. You can utilize form, scale, glaze and surface decoration to build relation and connection.
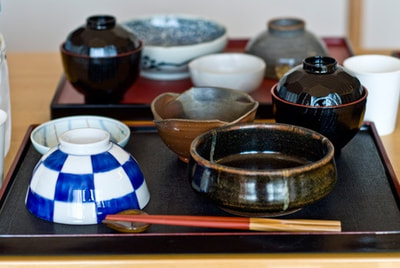
What does a place setting do for the user? In my opinion it provides utility through its ability to hold, serve and present all aspects of a particular meal. If the meal is a multi course food experience the user may want to have a place setting that includes a small or large bowl for soup, a small plate for salad, a small bread or desert plate, a large plate for the main dish and some form of drinking vessel. What if we choose to shift culture and move away from typical American cuisine and go Asian in our dining scenario? Is it a meal of sushi, or a Ramen noodle meal? Given those types of food and cultural shifts our place setting might look very different. Plates may be flatter or non round, our bowls may be considerably smaller to hold side dishes and sauces; or we may need a large bowl to accommodate the Ramen noodles, or maybe a large bowl of Pho. There are a lot of "what ifs" in the planning of this project, Please take the time to plan you place setting, it will pay off in the end. Choose a meal type or culture that you will be building for, then plan the design or aesthetic in order to unify the collection visually as a matched set.
A serving set follows many of the same ideas of the place setting, but instead of being a private use piece for the diner, the serving set provides the means to bring the meal to the diners and or plates they are about to use. As with the place setting you must choose your meal type and cultural food experience.
Lets use a typical Western Cultural meal as a conversation point. This meal might include a main dish and three side dishes. The main course being pork chops (imagine fried marinated tofu if your a vegetarian), a side of potatoes and a side of green beans and a salad. This particular meal might require a large low bowl or plate for the Pork/Tofu, two medium size bowls for the potatoes and green beans and a large salad bowl. This typical Western Culture meal requires 4 large-medium pieces.
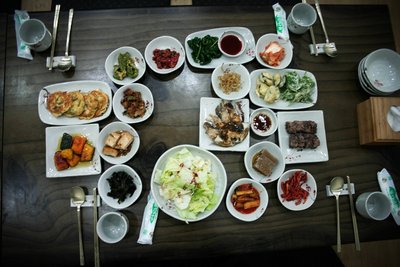
Now imagine its a Korean Style family meal. If you're not familiar with Korean food I suggest you experience it. It is an amazing food experience. From my experience the table is covered in serving bowls. Large bowls and plates for the multiple main components and then a dozen or so small bowls filled with side dishes and sauces. As with the place settings, the cultural direction of the serving set can and will dramatically alter its scale, and design, so please plan carefully and think your project through.
The project:
- Produce two place settings. (each set must be a different design)
- Each place setting should include a minimum of 4 pieces.
- All objects must be wheel thrown if you are in the wheel throwing section of the course. (you may alter and modify after they are thrown). If you are in hand building you should utilize hand building techniques to build your settings.
- The objects in your place setting must visually relate to each other either formally, through surface decoration or through some unifying design element. They must read as a set without question or doubt.
- In addition to the project requirements above, you will also produce a Serving set designed for two.
- Serving sett must include 4 pieces. These pieces must be designed for a particular meal shared by two people.
- The serving set should be of a scale that represents the amount of food being served and the type of food being served (In other words, being that the meal is only for two, your pieces will not need to be large enough to serve a family of 5, but rather small enough for two people.)
ART 10 Projects
Project#1ACylinder Forms.
The wheel is a very useful tool for creating hollow forms that are the basis for many functional/utilitarian objects. In our first project you will be exploring the techniques and processes used to create basic cylindrical forms that will serve a foundational element to work made on the wheel. In the process of this first projects you will learn how clay is prepared for throwing by wedging, how clay responds to your touch on the wheel and how to raise clay to achieve hight in your forms. The majority of this project is centered on technical skills that will help build your ability to manipulate clay in to forms of your choice.
There will be class demos on the processes associated with throwing on the wheel. In addition to these demos I encourage you to explore the vast examples of the throwing process on line and in print. YouTube, Ceramics Arts Daily and other sources are available for you to research and explore. As always practice improves skills, so in addition to your research, engage the material as often as possible to build your techniques.
Project Requirements:
Using 2-3 pound balls of clay, work on your throwing skills until you can center, open, raise and produce a cylinder with uniform thickness in the walls.
Each Student will produce:
2 cylinder forms
(one cylinder must be of a low and wide proportion and one cylinder must be of a tall and narrow proportion)
Each Cylinder must be Trimmed with a FOOT
Each Cylinder must be decorated with Sprig Molds
Each Cylinder must Utilize BLACK and White slip as the primary decorating material.
Once you have made your cylinder let them slowly dry to a soft leather hard state. Keep them at the moisture level by wrapping them in plastic bags.
We will be trimming them when they are at this state of dryness.
In addition to the throwing the cylinder forms we will experiment with sprigging the surface of the cylinder to create movement and personalized cylinders that express your content and attitudes. Sprig mold pressings will be attached when your cylinders have been trimmed and leather hard.
When your cylinders are Bone-dry we will finish them with slips, allowing you to decide their surface design.
We will discus Bisque firing, the first step in the firing process that turns Green Ware into Bisque ware by heating and removing all physical water. At this state clay can no longer be slaked down and recycled. At this state glaze is applied to the bisque ware and loaded back into the kiln for the Glaze firing.
Project Goals:
Develop Wedging and Throwing Skills
Develop Trimming Skills
Learn to Manage Clays Moisture Levels
Experience Using Slips, Sprigging, Carving and Glazing
Learn how to Load Kilns and Understanding of the Firing Process
Geert Lapp
Drinking Vessels
.
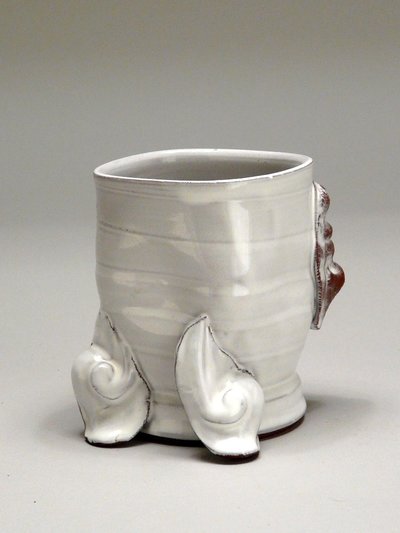
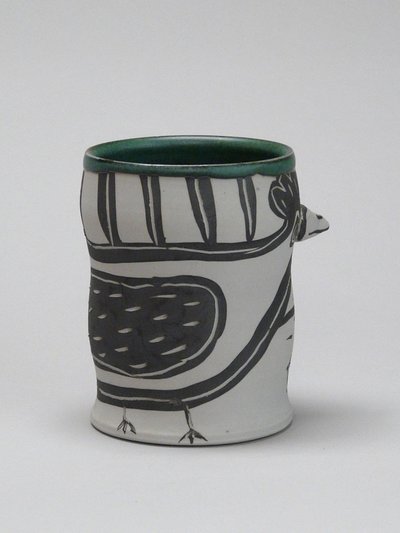
- Cups are the most common vessel form we encounter on a daily basis. They come in varied forms ranging from sturdy coffee cups, delicate tea cups, tall cold beverage tumblers and steins. Cups present a personal interaction like no other ceramic vessel. We experience them through tactile interaction with our hands and intimate connections to our lips. Cup have an ability to connect to their users like no other pottery item. They become part of daily ritual and present a an opportunity for personal connection to a piece of pottery.
Cup Research:
Consider your ideal cup. What shape does it have? Does it have a thin lip or a thick lip? What is your favorite beverage to drink? How would you cup address this beverage? Whats scale is your ideal cup and how does that affect your interaction with act of drinking from it? Does it have a handle? If so what shape does the handle take? Is it a conventional handle, a simple finger loop or a lug? Does the handle present challenges for the user, or does it simply act in a functional manner?
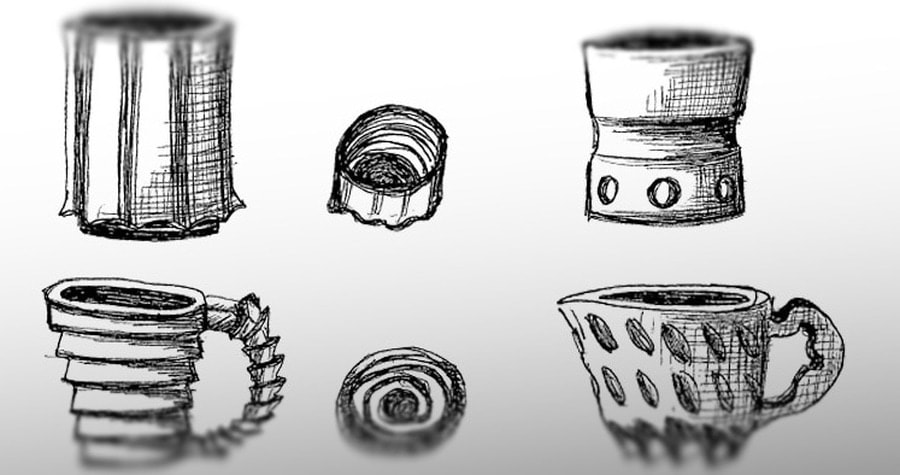
Create sketches of these ideas and work out your thought on paper. Sketches should be to scale with our cups you plan to produce. NO tiny doodles! Make confidant sketches that clearly display your ideas and thoughts. Include notes with your sketches that make note of ideas, direction or design.
Look at the cups you use at home and in your daily life. Go to the store and look at cups. Go to the thrift store and handle things and look for insight for your ideal cup. - Project Requirements:
2 Cups that exemplify your ideal cup HOT beverage cup.
2 Cups that exemplify your ideal COLD beverage cup
1 Set of( 2 ) Cups. These cups must relate as a set. Sets can be created through physical similarities, concepts that create familiarness through theme, or contrast by design choices that enable other to read them as a set.
2 Cups must Have Handles (this could be for the hot or cold, your choice of where to put them).
2 Cups must be ALTERED using none wheel based methods. (changed in a way that doesn't involve the rotation of the wheel)
TOTAL: 6 Cups
Project Goals:
Continued develop wedging and throwing skills Explore forms that are suitable for cups and drinking vessels Learn to make and attach handles as well as dry the cups with their attachments. Experience varied slip decoration techniques. Develop personal expression and aesthetic through research and development of ceramic vessels. Explore additive methods of adding clay to clay to create more complex forms and assemblages.
Research Resources:
Cup Library on this Site
www.artaxis.org
www.crimsonlaurelgallery.com interpreting the cup
www.accessceramics.org
www.strictlyfunctionalpottery.net/
www.archiebray.org/gallery_exhibitions/auction_13/2013_cup_auction.html
